

Coconut oil is the Swiss Army Knife of beauty products. Its can be used to make this three-ingredient shampoo bar, homemade deodorant, lotion bars, and even tooth whitener. And, hey, you can just rub it on as a lovely body oil.
But as a leave-in conditioner? Yeah, not so much . . . it’s just too heavy for most people. Fortunately, coconut milk softens and conditions without weighing hair down, and only takes minutes to make into a spray conditioner.
When I first shared this recipe a few years ago it got a lot of rave reviews like this one:
Thanks for this amazingly simple recipe! I’ve used it on my thick, curly hair, as well as my young daughter’s fine, tangly hair, and it leaves our hair feeling soft and looking smooth. Hair brushing time is now almost tear free, what a huge relief!” – Rachael
I also got a fair amount of questions, so I’ve updated the post to answer the most common ones at the bottom of this post.
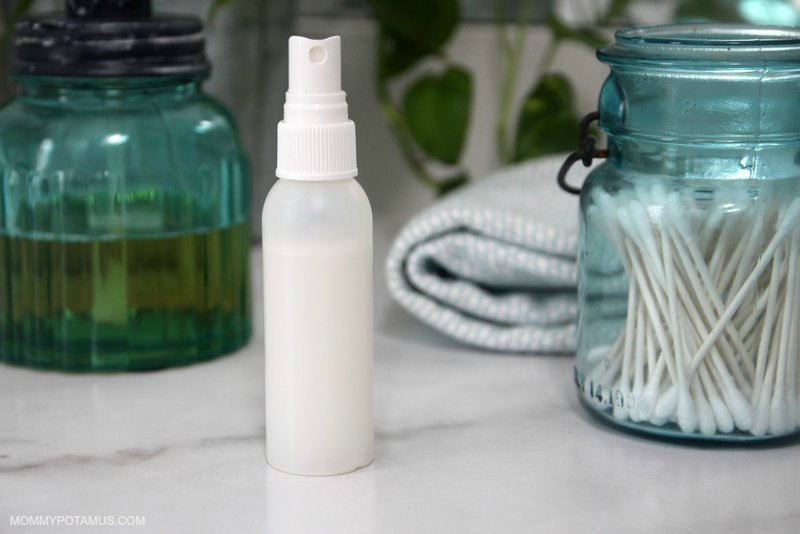
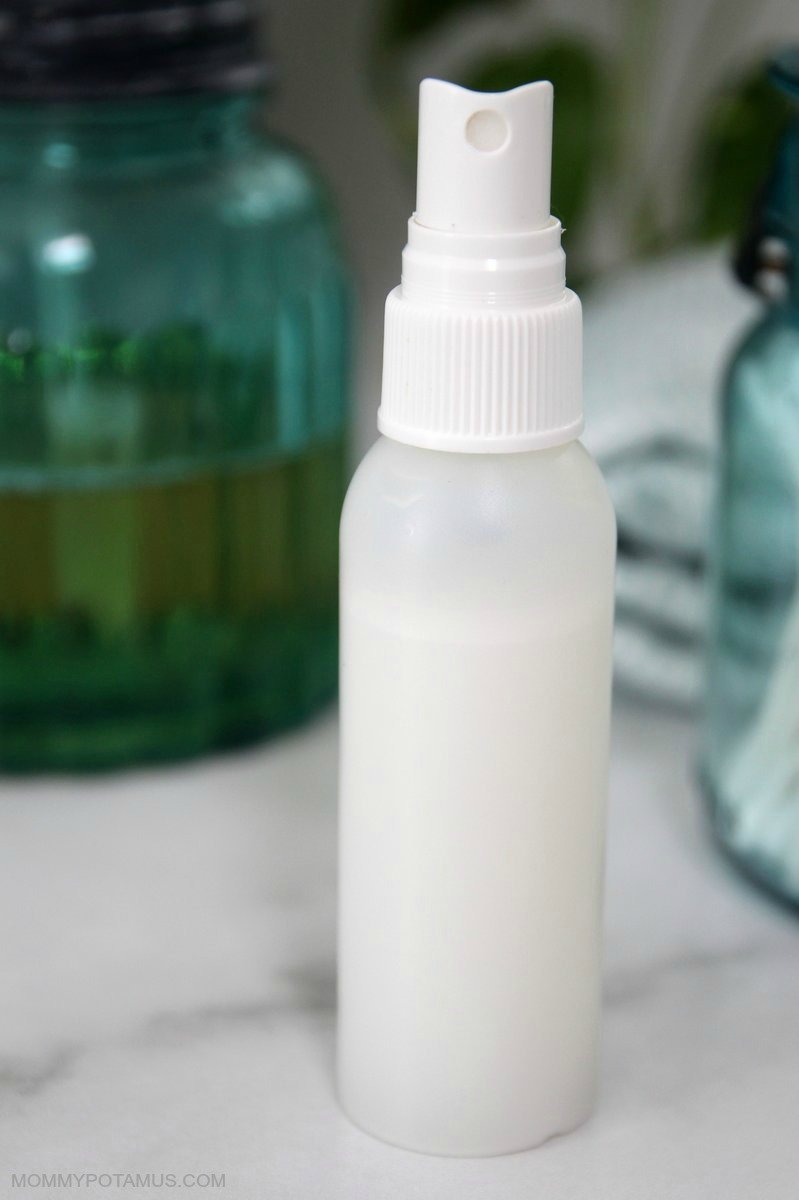
DIY Leave-In Conditioner Recipe

Because this recipe doesn't contain a preservative I keep it in the fridge and use it within a week. When the mixture chills (as it will in the fridge) the coconut milk can separate from the water. If the coconut milk used was store-bought it will typically mix back together when shaken.
If homemade coconut milk is used I suggest chilling the mixture and then blending it before pouring it in the bottle. After that it should stay pretty well dispersed.
- 1/4 cup distilled water (or tap water that has been boiled for 5 minutes and allowed to cool)
- 1 tablespoon full-fat canned coconut milk or 2 tablespoons <a href="http://bit.ly/2HHr980 coconut milk</a> (For this purpose, canned tends to work better)
- 2-10 drops essential oil (optional)
If you're using canned coconut milk:
-
You'll want to start by adding the essential oils (if you're using them) to the coconut milk and whisking together thoroughly. Next, add the water and whisk again. Pour the mixture into a 2 ounce spray bottle. To save the rest of the coconut milk for future batches, use an ice cube tray to freeze it in 1 tablespoon increments. To use, shake the bottle well, spritz the conditioner through damp hair, and comb through.
If you're using homemade coconut milk:
-
After straining the coconut milk as described here, whisk it together with the essential oils (if using). Add the water to the coconut milk and whisk again. Place mixture in the fridge for a couple of hours. As it cools a thin layer of cream will harden on the top. Remove mixture from the fridge, give it a whir in the blender, and then pour it into a spray bottle. To use, shake the bottle well, spritz the conditioner through damp hair, and comb through.
Store in the refrigerator. Because it doesn’t not contain any preservatives, I make small batches and use within about a week.
Frequently Asked Questions
If you don’t see your question listed below, please leave it in the comments!
Can I use this as a detangler?
Many people do and find it works well for them. I also have several other detangler recipes if that’s what you’re looking for.
Is it okay to use canned coconut milk with guar and xantham gum?
I personally keep this guar gum-free coconut milk on hand for cooking so it’s what I use, but in the past I have used coconut milk with thickeners and it worked just as well.
How do I use it?
Just spritz it on clean, damp hair and you’re good to go. I hope you love this recipe as much as I do!
What essential oils do you suggest?
- Though most often recommended for oily hair due to their astringent qualities, a small amount of tea tree or rosemary essential oil can be helpful for maintaining freshness. Rosemary also boosts shine. (Where to buy tea tree, where to buy rosemary)
- Lavender is one of my favorite nourishing oils for normal/dry hair (Where to buy lavender essential oil)
- Vanilla resin just smells amazing, especially with the light coconut scent of this conditioner. It doesn’t have any properties that would assist in keeping the conditioner fresh, though, so I would pair it with another oil. (Here’s what I use)
- I also love this anti-age blend because it smells like honeysuckle. (It’s pricey, though!)
Can I use this DIY leave-in conditioner everyday?
It depends on your lifestyle and hair type. If you’re swimming in a pool or ocean everyday, probably. If your hair tends to be oily at the scalp and dry toward the ends, it might be better to just use it on the ends. The best thing to do is experiment and see what works for you.
Can I use a preservative to make it last longer?
I prefer to make this recipe in small batches and use it up quickly, which is pretty easy since my hair is super thick and my daughter’s is nearly to her waist. However, it is possible to add a natural preservative such as Optiphen Plus to extend the shelf life.
Usually formulators add it by weighing the total amount of liquid (in this case about 50 grams), then multiplying that number by the recommended percentage of preservative, which for Optiphen Plus is from .75 to 1.5. The resulting number represents the total weight of the Optiphen Plus liquid that should be used. In this case, that would be between .38 grams or .75 grams.
Deciding how much to use and whether a particular preservative is the right fit for a formula is not just a matter of percentages, though. A lot depends on the pH of your formula, which can vary based on the pH of the water in your area.
Don’t see your question answered? Leave a comment below!
Continue reading DIY Leave-In Conditioner...
from Mommypotamus http://bit.ly/2JHO2uf


No comments: